Specialized Drywall Services in Vancouver
The Mud Slinger is a high-quality drywall and plastering contractor operating in Vancouver and the surrounding areas of the Lower Mainland. We have decades of experience specializing in high-quality drywall services and restoring heritage houses to good condition. You can trust us to provide exceptional services at competitive rates.
Please contact us today if you have questions about our services or want a quote. You can reach us by phone at 604-803-0696 or using the form provided on this page, and we will respond as soon as possible. We look forward to working with you.
Call us before electrical and plumbing upgrades begin — it's the best way to ensure seamless coordination and avoid costly rework.

Get a Free Estimate
Heritage Restorations
Vancouver's heritage buildings deserve more than a patch job. From century-old homes to museums and historic commercial spaces, we restore wood lath and plaster systems using the same techniques that built them — and materials matched to the originals.
Wood Lath & Plaster Restoration
Wood lath and plaster was the standard for interior walls and ceilings before drywall existed. Restoring it requires both an understanding of the original system and the skill to match it. Every restoration begins with an assessment of the lath, the keys, and the finish coat — because the right approach depends entirely on the condition of what's already there.
Procedure 1 — Crack Profiling & Mesh Reinforcement
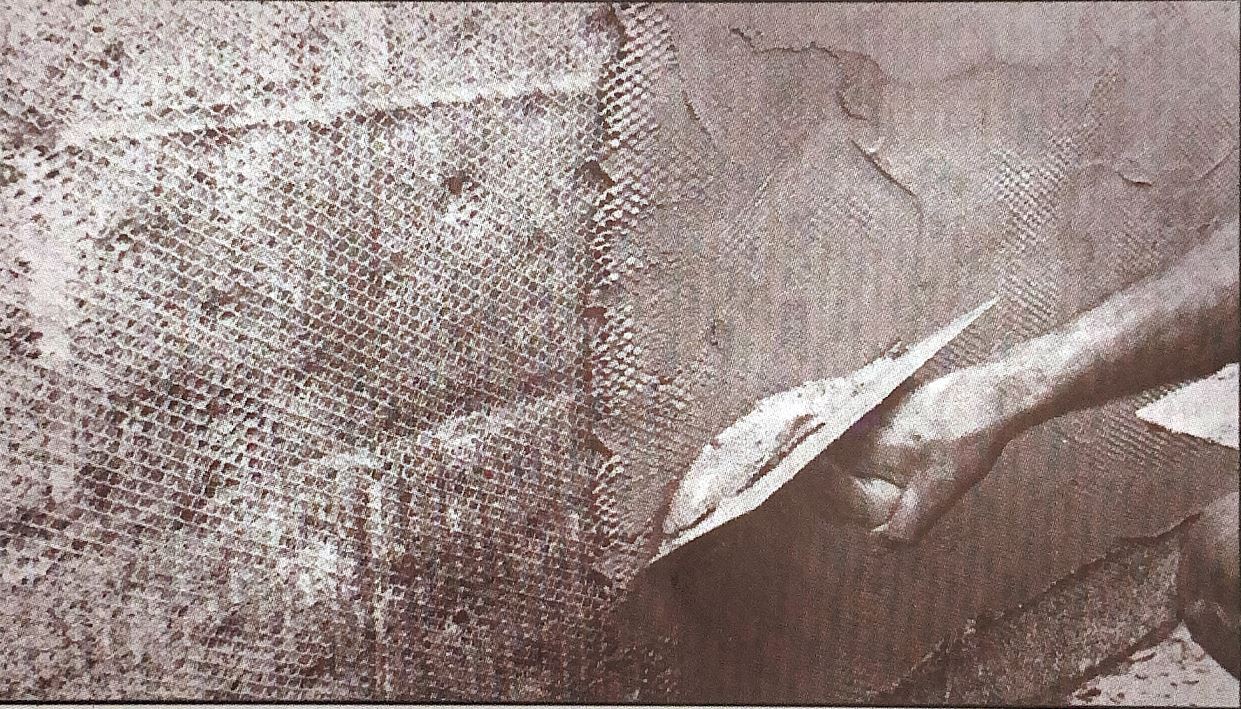
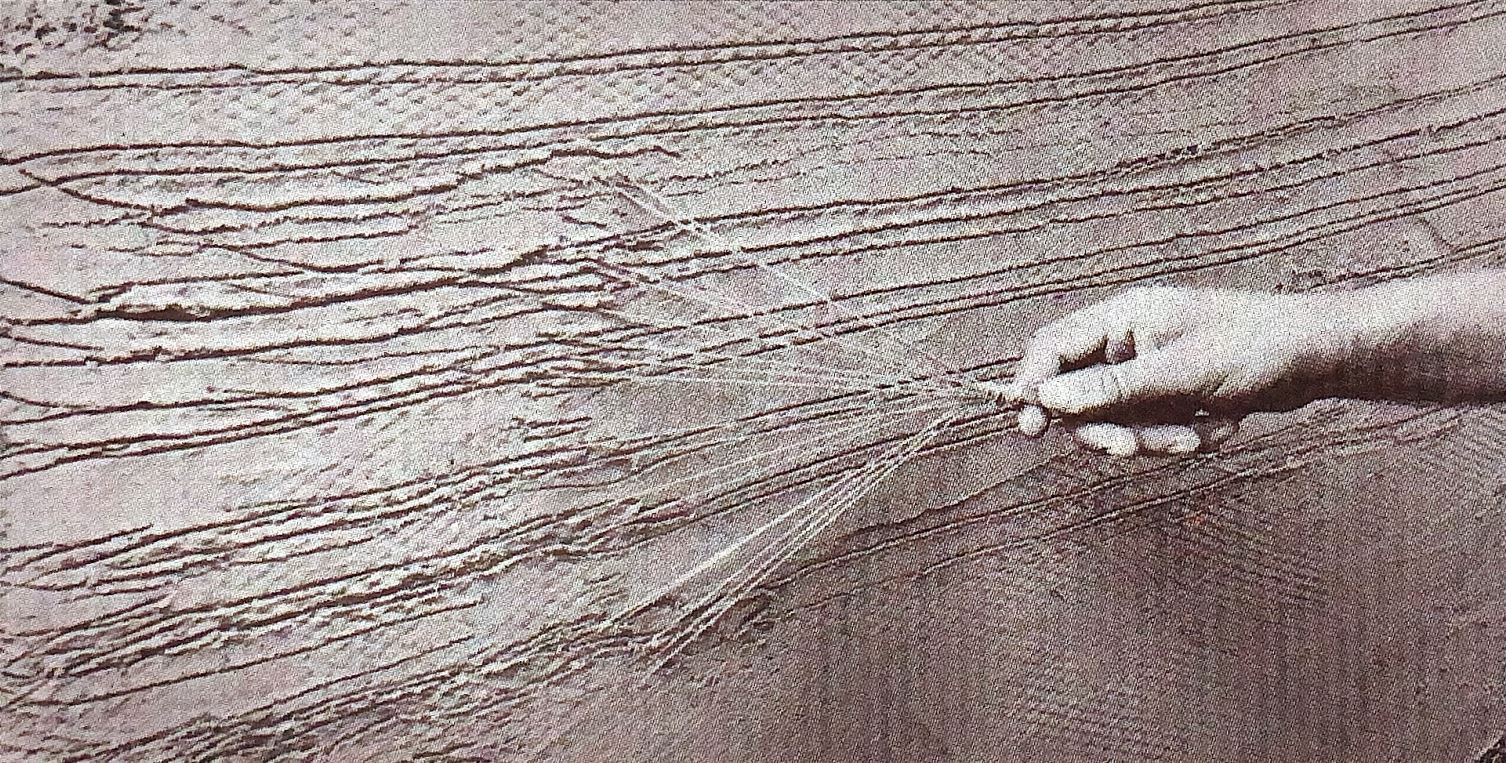
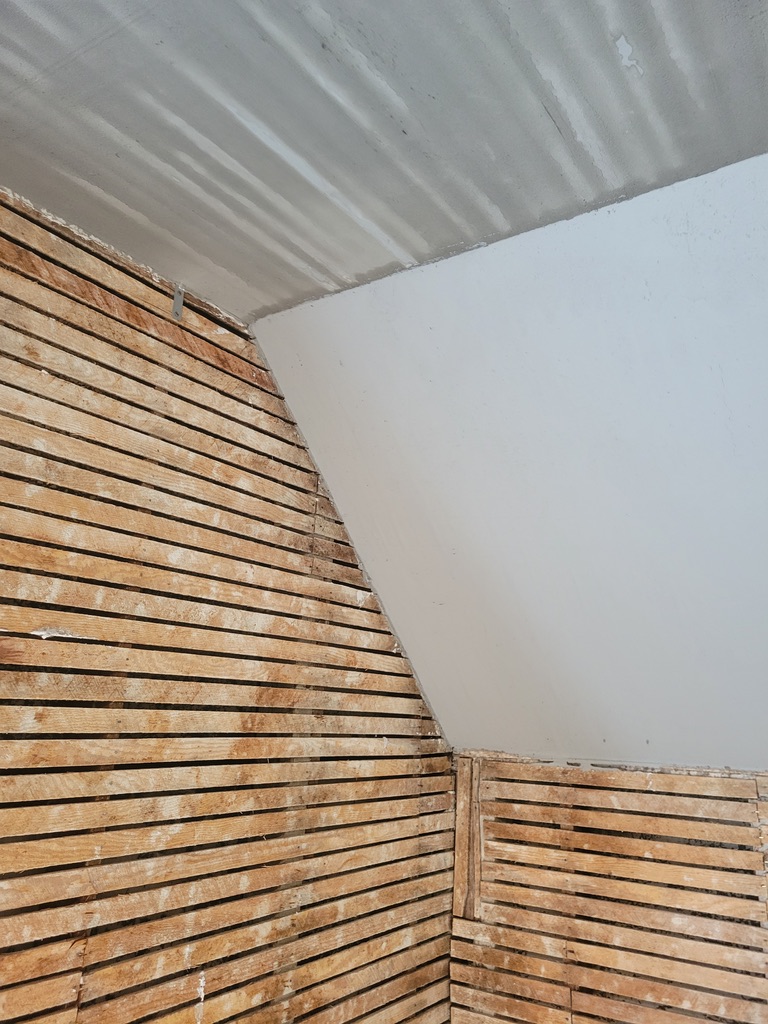
Profile large cracks, remove areas that have lost their keys or are falling away from the wood lath. Bond the complete wall, spray bonder into all cracks and onto the wood lath, apply a base coat with plaster materials, mesh complete walls and ceilings, skim the mesh with a plaster material, and finish ready for paint.
Depending on the condition of the wall or ceiling, there are multiple types of mesh and installation methods to consider.
Procedure 2 — Full Plaster Removal & Re-Lath
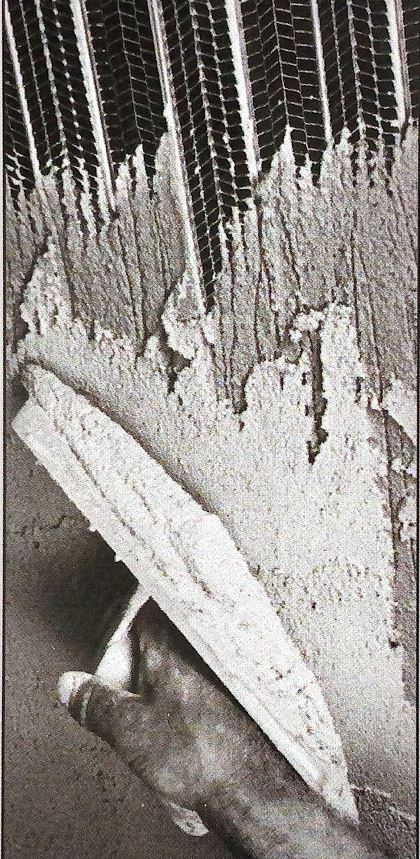
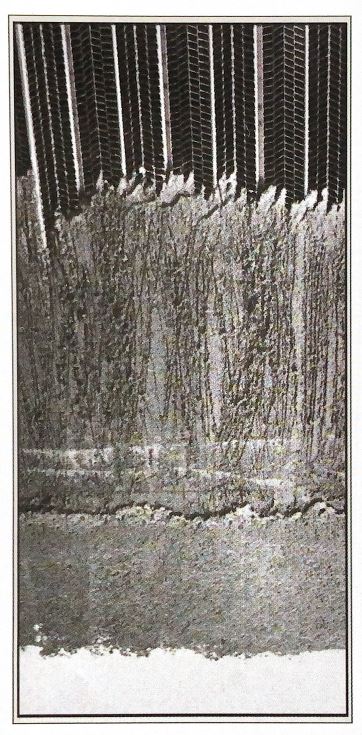
Remove all plaster from the wood lath and repair damaged lath areas. Saturate with two full coats of weld bond, install corner right in all corners, and install expanded metal lath across the corners of windows and doorways. Apply a base coat (brown coat), mesh complete ceilings and walls with crack stop, and finish with a gypsum plaster ready for paint.
Procedure 3 — Full Removal with System Upgrades
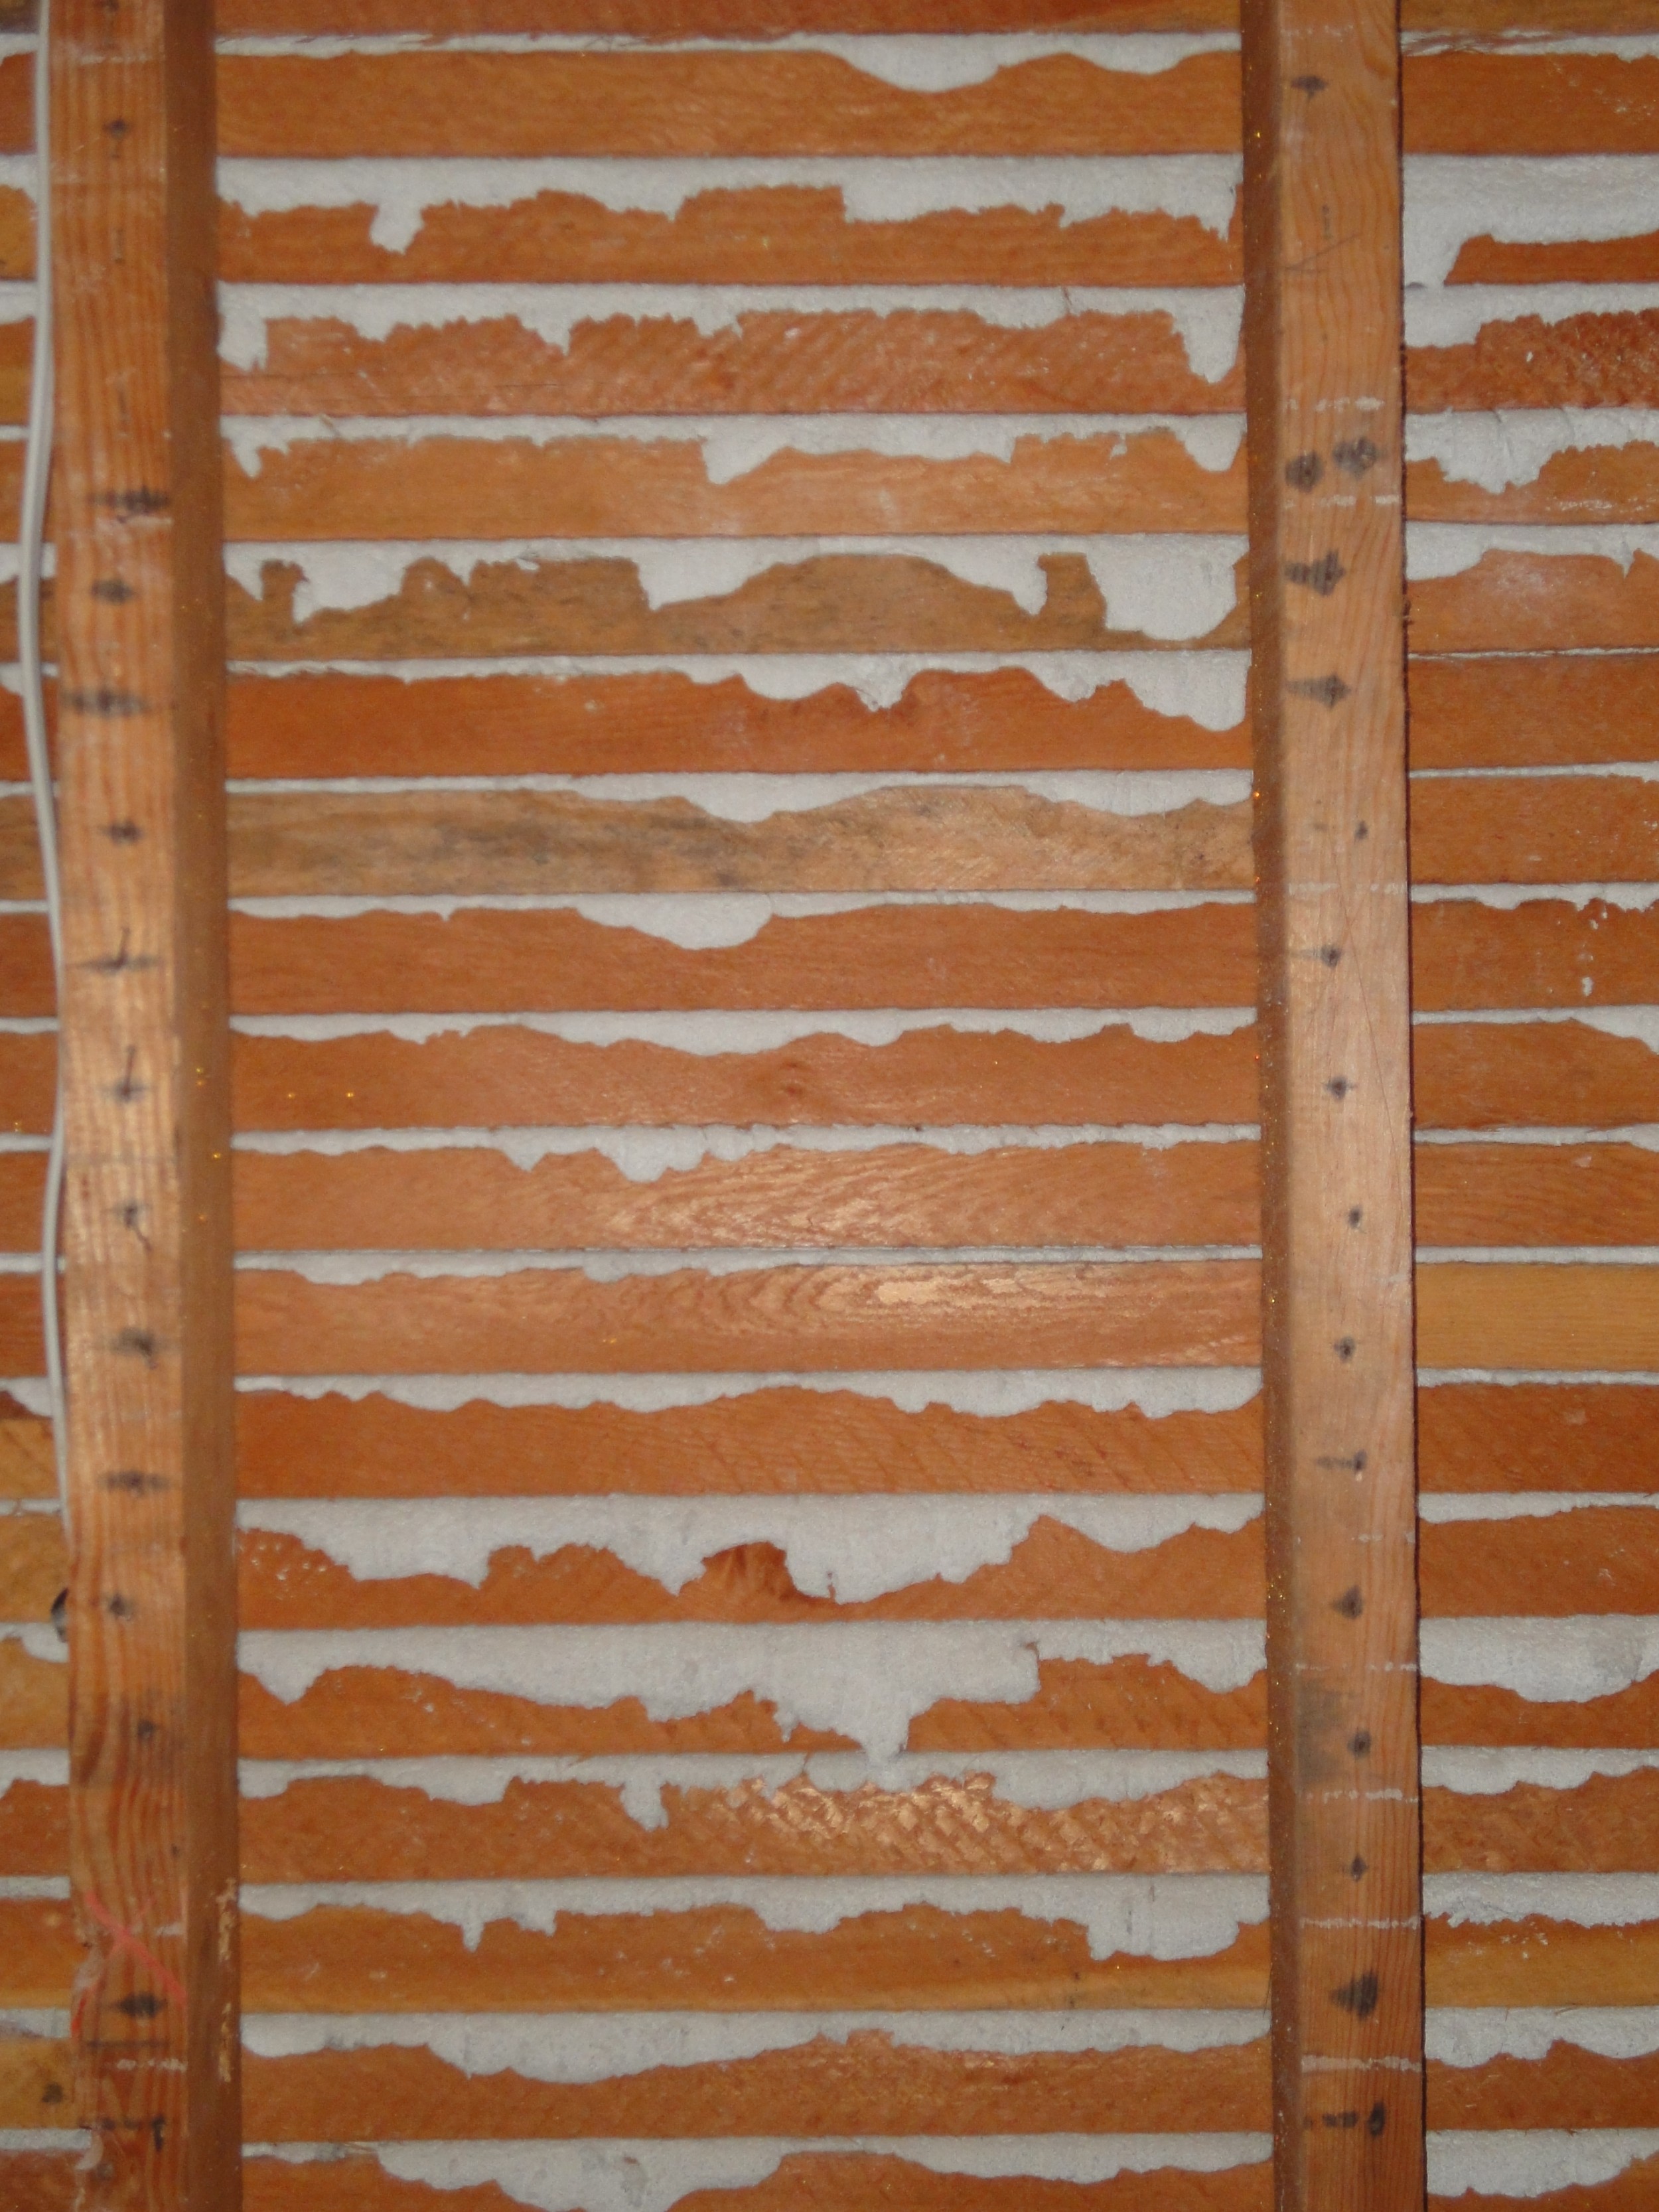
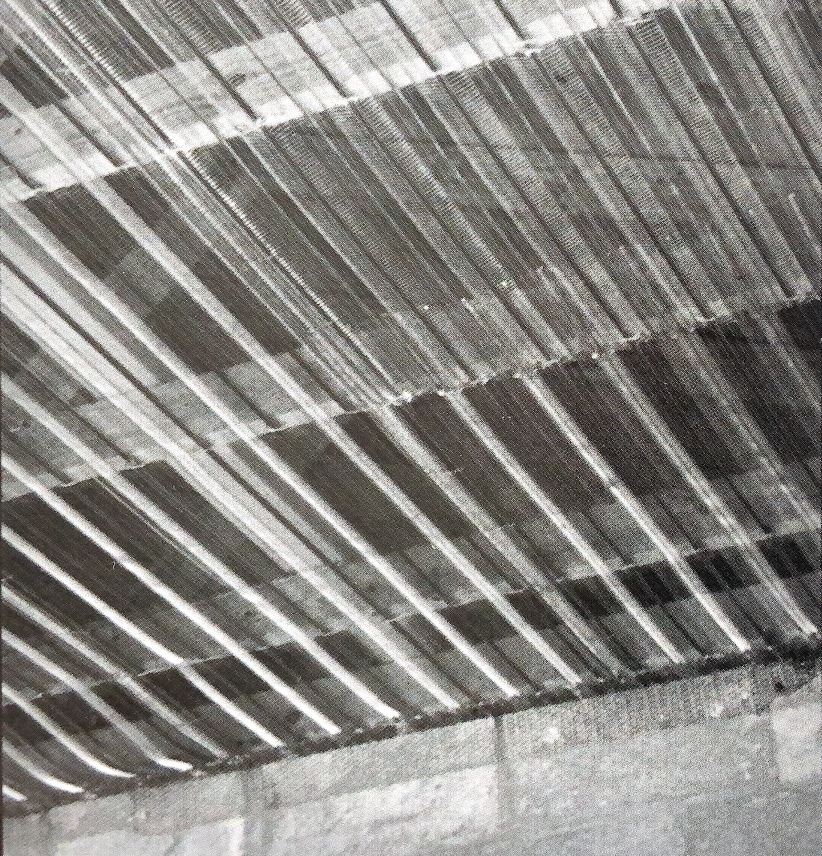
After removing all plaster from the wood lath, the electrical can be easily updated as well as the plumbing. Cavities can be insulated, and the wood lath is then sheeted over with expanded metal lath and replastered.
Material Specifications
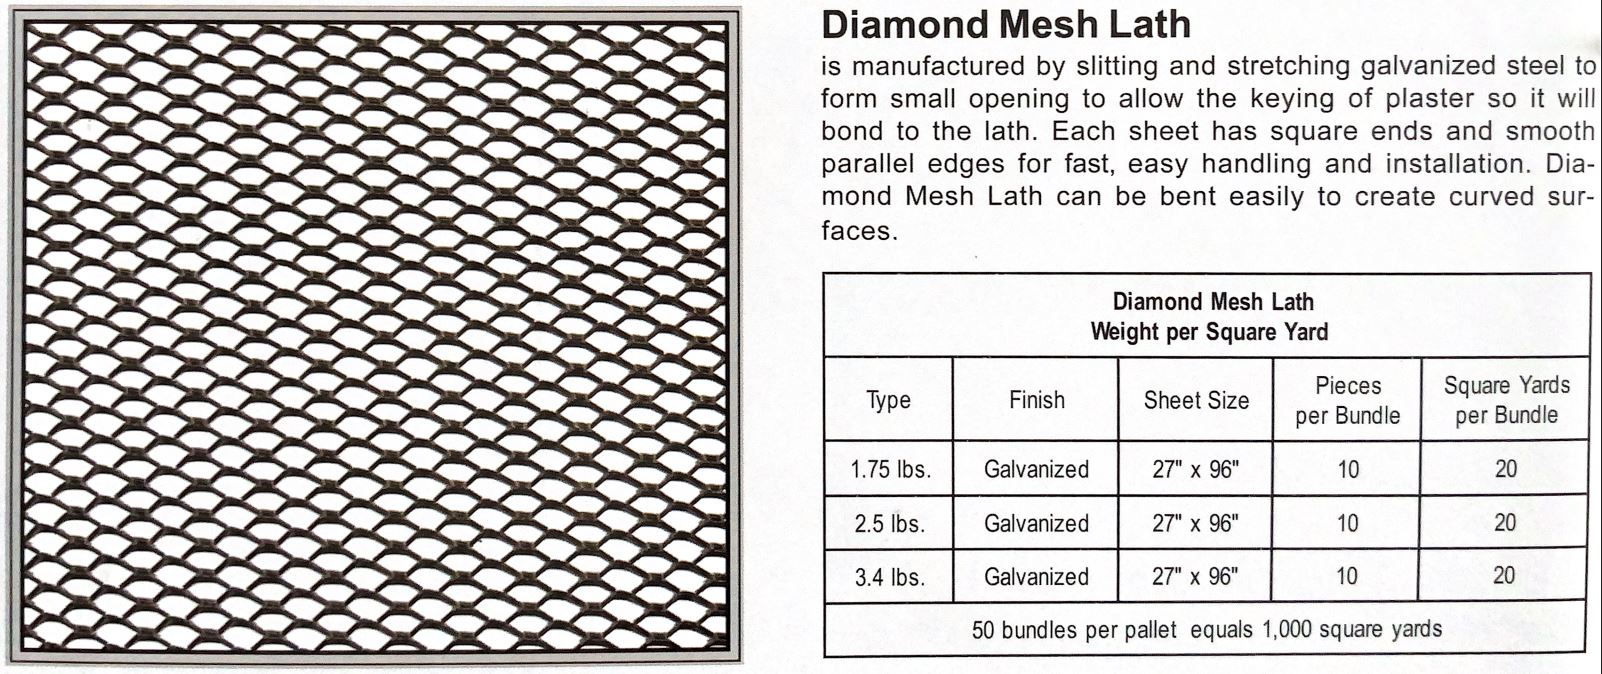
- Galvanized steel
- Sheet size: 27" × 96"
- Weight: 1.75 / 2.5 / 3.4 lbs per sq yd
- Bendable for curved surfaces
- 7 longitudinal ribs (3/8" deep)
- 8 small flat ribs for rigidity
- Herringbone mesh pattern
- Spans up to 24" o.c.
- Galvanized: 3.4 / 4.0 lbs per sq yd
Original Finish Replication
Matching an original finish is not about approximating a colour — it's about understanding the layers beneath it. Heritage plaster systems were built up in stages, and reproducing them accurately means reproducing every layer.
Three Types of Heritage Plaster
- Wood lath and plaster — the most common in Vancouver's pre-war homes
- Gypsum lath and plaster — used in later heritage-era construction
- Wire lath and plaster — found in curved walls and specialty applications
All three share the same core structure: a base coat and a finish coat.
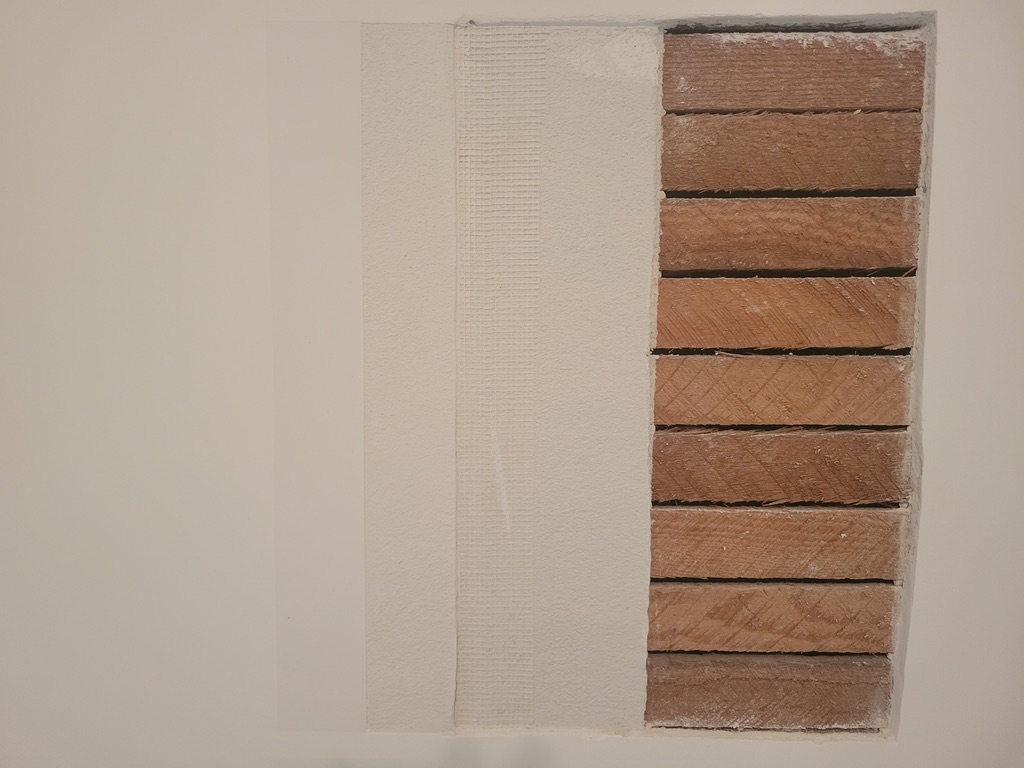
Base Coat Composition
Base coat plaster consists of hardwall or plaster of Paris combined with an aggregate. The two most common base coat plasters used today are Structolite and cement plaster.
Finish Coat
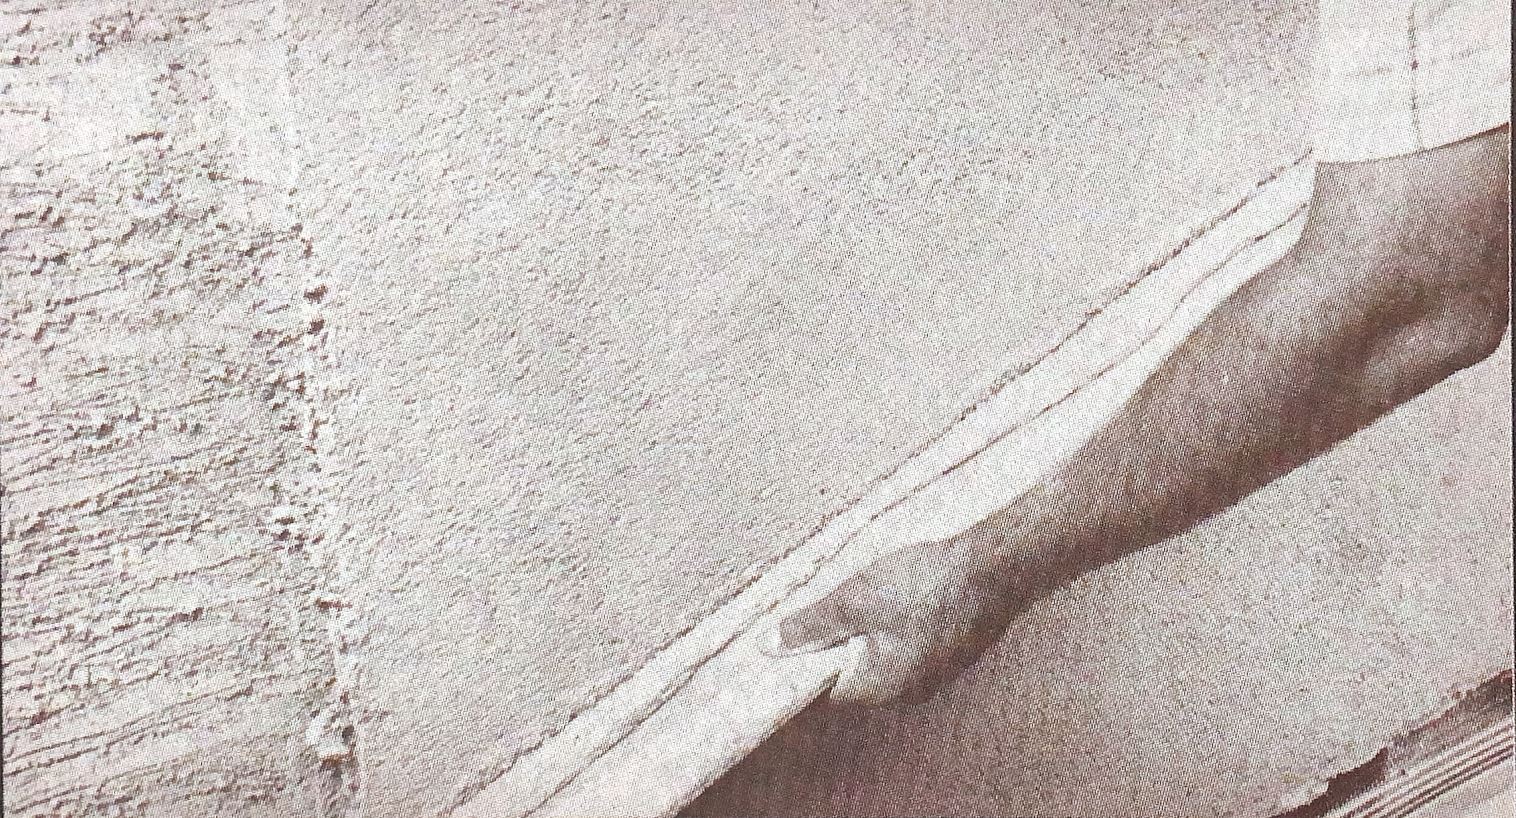
The white layer on top of the base coat is typically a lime plaster. Most finishing plasters of the era were called gauging plaster — a white plaster layer consisting of lime and plaster of Paris, polished to a smooth finish.
When we replicate an original finish, we match the system — not just the surface.
Minimal Dust & Thorough Clean-Up
Heritage restoration is dusty work by nature — but it doesn't have to disrupt your home or business.
We work with quality vacuuming and sanding equipment to minimize the dust while working. When we leave the job site, it's clean each day. When working on renovations, we isolate areas we're not working in to keep the building as dust-free as possible.
Clean work is part of the craft.
Consulting for Electrical & Plumbing Upgrades
Opening up a wall for plaster restoration is a rare opportunity — and a costly one to waste. The best time to upgrade electrical and plumbing is while the walls are already open.
General planning for plaster and drywall finishing — or demolition as required for upgrading your plumbing and electrical.
The consulting should be done as early in the project as possible, before any work is done, to avoid mistakes and unnecessary costs. With today's regulations, you're not supposed to move forward without a proper hazardous materials survey done before any demolition. Proper consulting helps you understand what's needed for any upgrades and gets your project finished — and your home restored — efficiently.
Don't hire a general contractor to come in and tell you how to do your plaster. Very few general contractors in business today have experience or knowledge of heritage plaster systems. You need to hire a plasterer to give them the information on how to do their plaster restoration or upgrades.
Early consultation saves money, time, and rework. We work alongside your electrician, plumber, and general contractor to coordinate the trades.
Project Planning & Consulting
No two heritage restorations are the same. Before any work begins, we determine the condition of the existing plaster — because the right approach depends entirely on what's underneath.
Our planning process includes:
- Assessing the condition of the lath, keys, and finish coats
- Determining which of the three restoration procedures is appropriate
- Coordinating with other trades (electrical, plumbing, HVAC)
- Confirming whether a hazardous materials survey is required before demolition
- Documenting materials and methods before work begins
Proper planning at the start of a project is what keeps restoration work on schedule — and on budget.
Residential, Commercial & Museums
Heritage plaster restoration isn't limited to homes. We work across a wide range of buildings where the original craft deserves to be preserved.
Restore walls and ceilings to their original quality using as close to original materials as possible. In many cases, using the exact same process.
- Heritage homes
- Luxury residences
- Commercial buildings
- Retail spaces
- Restaurants
- Museums
- Resorts
Whatever the building, the goal is the same: preserve what makes it worth keeping.
Why DIY Drywall Fails — And Why It Matters
Drywall and plaster work looks simple — until you try it. Below are the seven most common reasons DIY projects go wrong, and why hiring a specialist saves money, time, and stress in the long run.

Reimagine Your Space with Precision Drywall – The Mud Slinger in Vancouver
From concept to flawless finish, our drywall expertise delivers clean lines, durable joints, and premium materials. DIY can be tempting, but for lasting integrity and an elevated look, trust our craftsmanship to ensure safety, efficiency, and beauty in every room.


Safety Risks Associated with DIY Drywall Projects
Drywall installation involves handling heavy materials, working at heights, and using power tools — all of which pose serious safety concerns. Without proper training, individuals risk:
- Strains and sprains: Lifting and positioning drywall sheets requires strength and proper technique. Incorrect handling causes muscle strains or back injuries.
- Falls: Working on ladders or scaffolding without experience significantly increases fall risk.
- Dust and chemical exposure: Cutting and sanding generates fine dust that causes respiratory issues. Certain compounds require protective equipment.
- Hazardous material exposure: Cutting into the existing drywall in your home may expose you to other hazardous substances, such as asbestos. By regulation, any renovation that involves demolition requires a hazardous material survey to be done on the building.
The Mud Slinger has trained workers who follow safety protocols and use appropriate protective gear to minimize these risks.

Poor Quality Installation and Structural Issues
Achieving a seamless drywall finish requires precise cutting, proper fastening, and careful application of joint compound. Common DIY mistakes include:
- Incorrect measurements: Inaccurate cuts lead to gaps, misalignment, or insufficient compound application — affecting wall integrity.
- Improper fastening: Wrong fastener type or spacing results in loose panels, cracking, or sagging over time.
- Inadequate joint sealing: Poorly applied compound and tape causes visible seams, bubbling, or peeling.
Professional drywall contractors ensure precise installation techniques for a smooth, durable Level 5 finish.


Increased Costs Due to Mistakes and Repairs
While DIY drywall installation, or simply choosing the lowest price you can find, may seem cost-effective, mistakes incur significant additional expenses, and a lower bid often means cutting corners. Issues such as improper fastening, misaligned panels, or excessive material waste often require corrections.
By hiring a plaster and drywall company like The Mud Slinger, you receive efficient, high-quality craftsmanship that reduces the likelihood of future repairs. We source materials at competitive rates, further optimizing your project costs.

Compliance with Building Codes and Regulations
In Vancouver, drywall installation must adhere to specific building codes and fire safety regulations. Professional drywall companies ensure compliance through:
- Proper fire-resistant installation: Certain areas — such as shared walls in multi-unit buildings — require fire-resistant drywall. We select and install appropriate materials.
- Soundproofing considerations: We apply proper insulation and layering techniques to improve soundproofing in residential and commercial properties.
- Structural integrity checks: We assess the underlying framework to ensure panels are secured correctly without compromising structural stability.
- Proper ceiling board selection: ⅝" drywall or ceiling density board must be used on all ceilings, regardless of framing spacing.
- Proper fastener spacing: Many drywall installers reduce the number of screws to save money, but insufficient fastening can compromise the strength and durability of the installation. We use adequate fastener spacing to provide a stronger, more secure installation.
DIY installations may inadvertently violate building codes, leading to costly modifications or potential safety hazards.


Time Efficiency and Project Completion
Drywall installation is time-intensive, requiring multiple stages: measuring, cutting, fastening, taping, mudding, sanding, and finishing. Without experience, DIY projects take significantly longer, delaying overall construction timelines.
The Mud Slinger provides daily project updates and sticks to a carefully planned schedule — delivering timely, high-quality results with minimal disruption to homeowners and businesses.

Professional Finishing and Aesthetic Appeal
Achieving a smooth, uniform finish is a challenge for DIY installers or under qualified workers. Uneven mud application, visible seams, or improper sanding affect the final appearance of walls and ceilings. Professional contractors use advanced techniques including:
- Precision taping and mudding: Ensures seamless joints and smooth Level 5 surfaces.
- Proper sanding techniques: Eliminates rough spots and uneven textures with dustless sanding equipment.
- Custom finishing options: Venetian plaster, Marmorino, Fresco Colours, Shadow Line Reveals, and decorative drywall designs.
Hiring professionals ensures a polished, aesthetically pleasing result. Explore our completed past projects to understand the premium quality work by our plaster and drywall company in Vancouver.
Ready for a Flawless Drywall Installation?
From heritage restorations to luxury new builds — our team follows precise techniques to deliver durable, high-quality results across the Lower Mainland, Whistler, and beyond.